Standard travel insurance is intentionally designed to deny claims for anything deemed an “adventure,” treating your policy as a financial landmine.
- Most policies contain “hazardous activity” exclusions that void coverage for common adventure sports.
- The only effective countermeasure is to systematically build a pre-emptive “claim dossier” with documented evidence of your due diligence.
Recommendation: Shift your mindset from ‘trip planning’ to ‘evidence gathering.’ Document every safety check, operator certification, and risk assessment before you depart.
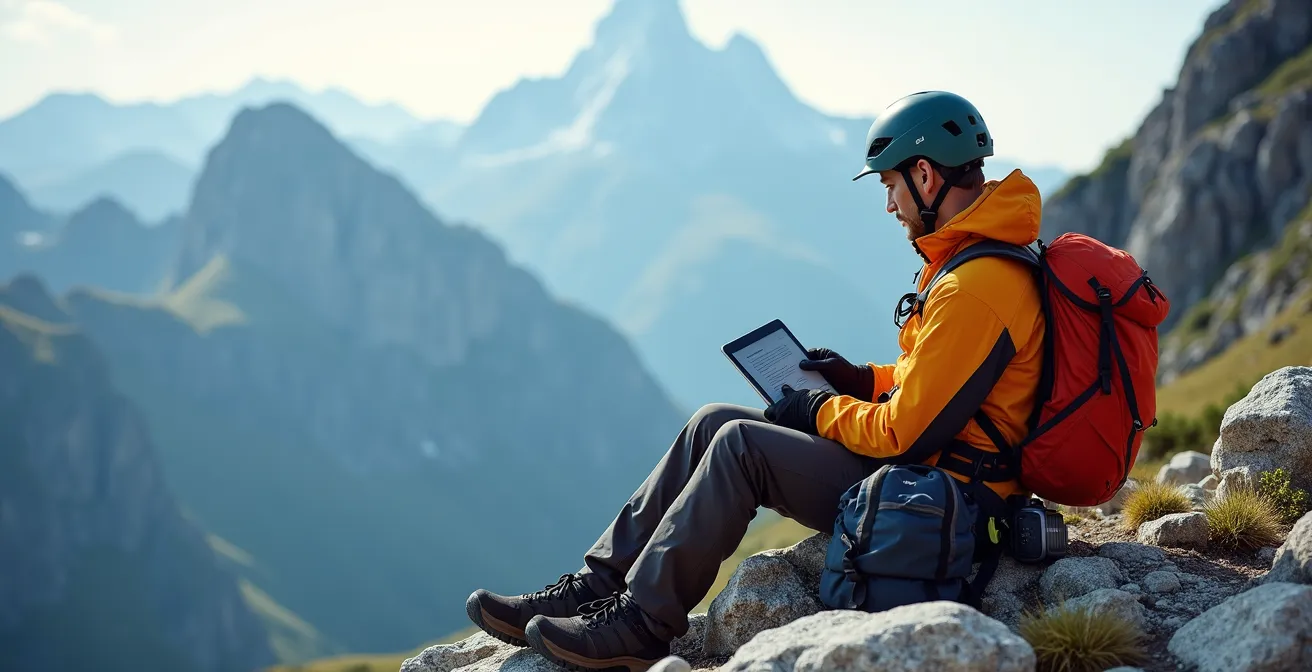
The thrill of an adventure trip begins long before you leave. It’s in the planning, the anticipation of dropping into a powder-filled bowl from a helicopter, scaling a Patagonian peak, or navigating a narrow canyon. You book flights, buy a standard travel insurance policy, and assume you’re covered. The reality, however, is that for adventure seekers, most insurance policies are not safety nets; they are carefully constructed traps of exclusionary language designed to fail when you need them most.
The common advice is to “read the fine print,” but this is insufficient. Insurers leverage vague terms to their advantage, leaving you exposed to catastrophic financial loss. The truth is that your policy is often worthless for the very activities you bought it for. This guide is not about finding a better policy. It’s about adopting the mindset of a risk assessor. The fundamental shift is to treat your adventure not as a vacation, but as a pre-emptive legal case against your insurer’s probable denial.
This approach requires you to systematically dismantle an insurer’s potential arguments for non-payment before you even pack your bags. We will dissect the exclusionary language they use, establish a protocol for vetting operators, quantify the real costs of an emergency, and build an ironclad “claim dossier.” It’s about transforming you from a hopeful traveler into a prepared claimant.
This article provides a detailed framework for that preparation. We will explore the critical clauses in your policy, the due diligence required for operators and equipment, and the mindset needed to ensure that if the worst happens, you are holding an undeniable case for full compensation, not a worthless piece of paper.
Summary: How to Prepare for Extreme Sports Travel Without Voiding Your Insurance?
- The “Hazardous Activity” Exclusion: Why Your Policy Won’t Pay for Heli-Skiing
- Certification Check: How to Verify a Bungee Jump Operator’s Safety Record?
- Evacuation Insurance: Why a Helicopter Ride Costs $25,000 Without It?
- Flying with Gear: How to Pack a Surfboard Without It Getting Crushed?
- Optimizing Weather Windows: When to Go to Patagonia for Climbing?
- Optimizing Your Runway: Planning for the Worst-Case Scenario
- Prehab vs Rehab: Why Solving Problems Before They Occur Is a Competitive Advantage?
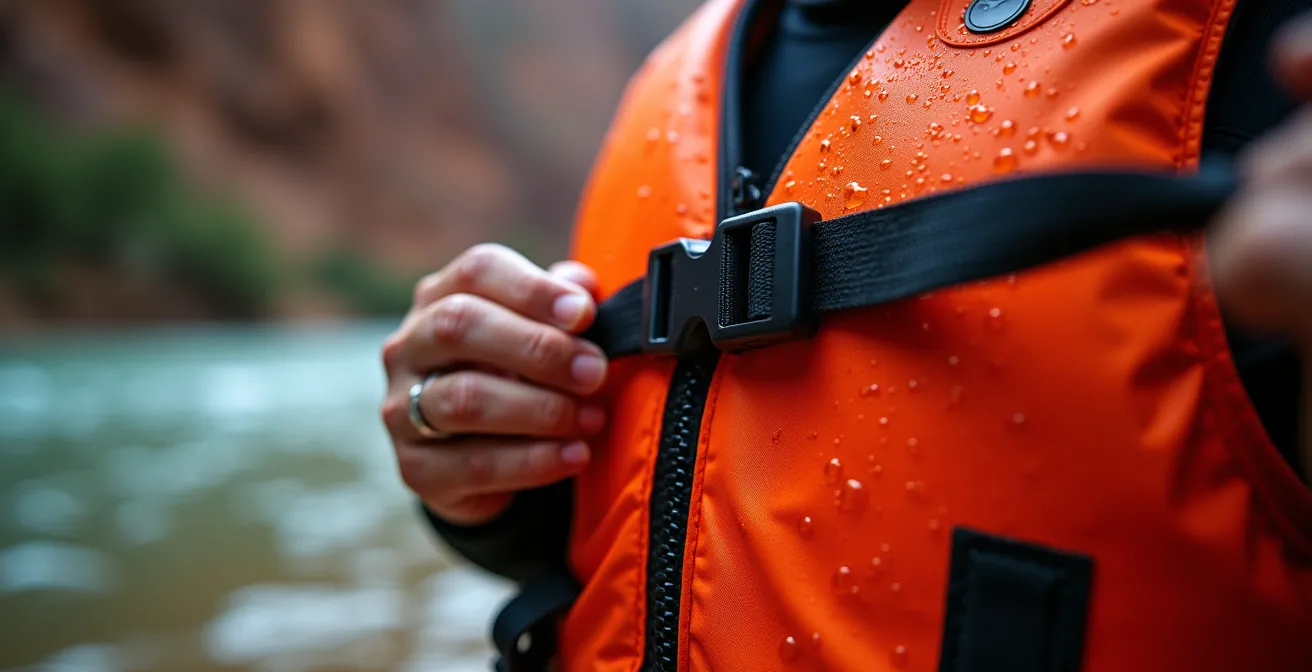
- How to Start Canyoning Safely If You Aren’t a Strong Swimmer?
The “Hazardous Activity” Exclusion: Why Your Policy Won’t Pay for Heli-Skiing
The single most critical failure point in any standard travel insurance policy is the “hazardous” or “extreme sports” exclusion clause. This is not an obscure detail; it’s the primary tool insurers use to deny claims. These policies are designed for tourists, not adventurers. An operator in the field confirms that most travel insurance policies exclude heli-skiing and will not pay claims, a rule that extends to a wide array of activities you might consider the entire purpose of your trip. The insurer’s definition of “hazardous” is deliberately broad and self-serving.
To build your defense, you must first understand the language of denial. Insurers rely on a specific lexicon to void your coverage. Key terms to identify in your policy documents include:
- Professional competition: If you receive any compensation or prize money, your coverage is void.
- Reckless endangerment: A subjective term they can apply to activities they deem unnecessarily dangerous, like venturing out in poor weather.
- Expedition activities: Vaguely defined long-duration, remote trips without established safety infrastructure.
- Unguided activities: Performing a sport without a certified professional.
- Altitude limits: Many policies set a hard ceiling, often around 4,600m (15,000 feet), above which all coverage ceases.
Recognizing these terms is the first step. The second is securing coverage that explicitly names and includes your intended activities. Relying on a standard policy with a generic “sports add-on” is a significant gamble. A more robust strategy involves specialized adventure policies or membership-based rescue services that are built for high-risk environments. The distinction between these tiers is not merely price but the fundamental scope of what is considered a payable event.
The following table, based on common market offerings, illustrates the hierarchy of adventure sports coverage. It demonstrates that basic add-ons provide minimal protection, while specialized products are necessary for true peace of mind and financial security. This information is crucial for selecting a plan that aligns with your risk profile, as analyzed in a recent comparative analysis of adventure sports plans.
| Coverage Type | Activities Covered | Average Cost | Best For |
|---|---|---|---|
| Standard Travel + Sports Add-on | Resort skiing, scuba to 30m, basic hiking | $8-10 per week extra | Casual adventure travelers |
| Specialized Adventure Policy | 200+ activities including bungee, rafting Grade 4+ | $30 per day average | Multi-activity adventurers |
| Membership Rescue Service | All activities with evacuation focus | $250-500 annually | Remote expeditions, frequent travelers |
Certification Check: How to Verify a Bungee Jump Operator’s Safety Record?
Once you have a potentially suitable policy, the insurer’s next line of defense is to scrutinize your choice of operator. If an incident occurs and the operator is found to be uncertified, unlicensed, or inadequately insured, your claim will almost certainly be denied on the grounds of negligence. Your responsibility—your due diligence—is to create a paper trail proving you selected a reputable and professional organization. This isn’t about feeling safe; it’s about collecting evidence.
Before booking, you must conduct a “paper trail audit” of any potential operator. This involves formally requesting and verifying their documentation. A legitimate company will have these documents readily available; reluctance to provide them is a major red flag. Your audit should confirm their operational legitimacy and adherence to recognized safety standards. This process of verification is a critical component of your pre-emptive claim dossier, demonstrating you took every reasonable step to ensure safety.

As the image above illustrates, professionalism is demonstrated through meticulous attention to detail and process. Your goal is to find operators who embody this ethos and can prove it on paper. The following checklist outlines the non-negotiable documents and information you must obtain from any adventure sports provider:
- Request their Certificate of Operation from local governing authorities.
- Verify their Public Liability Insurance certificate and note the coverage amounts.
- Check guide and staff certifications from internationally recognized bodies (e.g., UIAA for climbing, IRF for rafting, PADI for diving).
- Review the dates on their last equipment inspection reports.
- Confirm their affiliation with a relevant safety organization (e.g., USPA for skydiving).
- Ask for their written emergency response protocols.
- Request a disclosure of their accident history for the past 24-36 months.
Evacuation Insurance: Why a Helicopter Ride Costs $25,000 Without It?
The term “medical expenses” in a standard policy is dangerously misleading. It typically covers treatment in a local hospital but often excludes the most critical and expensive component of a remote-area emergency: medical evacuation. A broken leg in the backcountry is a manageable injury until you receive the bill for the helicopter ride. According to one medical travel service, the national average for emergency helicopter rides is about $40,000 in the United States, a cost that can easily bankrupt an individual without specific evacuation coverage.
This is not a theoretical risk. These costs are real and vary dramatically based on the remoteness of your location. Your pre-trip risk assessment must include a sober understanding of these potential expenses, as they are a primary reason why specialized evacuation insurance or a rescue membership is non-negotiable for serious adventurers. The financial exposure is simply too great to ignore.

The staggering cost of rescue is a global phenomenon. A look at regional evacuation expenses reveals a frightening financial landscape for the unprepared traveler. The following examples highlight why specific, high-limit evacuation coverage is essential.
Case Study: Global Helicopter Evacuation Cost Variations
Published rescue rates demonstrate extreme regional cost differences. On Mount Kilimanjaro, helicopter evacuations can cost between $5,000 and $10,000, depending on altitude and accessibility. In the Nepal Himalayas, rescues from regions like Everest Base Camp or the Annapurna Circuit frequently range from $4,500 to over $10,000 per person. The costs escalate dramatically in polar regions; an evacuation from Antarctica or the remote Arctic can easily surpass $100,000 to $200,000 due to the immense logistical challenges involved.
Flying with Gear: How to Pack a Surfboard Without It Getting Crushed?
Beyond personal injury, the next most common claim involves lost, stolen, or damaged equipment. For an adventure traveler, this can mean thousands of dollars in surfboards, skis, climbing racks, or dive computers. Standard baggage coverage is often woefully inadequate. For example, even a premium provider like Faye’s baggage coverage can reimburse up to $2,000, which may not cover a single high-end mountain bike or a full set of camera gear. To successfully claim the full value of your equipment, you need irrefutable proof of its pre-trip condition and value.
This is where your “claim dossier” extends to your gear. You must create a “digital gear locker”—a cloud-based folder containing all the evidence an insurer would require to process a full-value claim. This is not simply about taking a few photos. It’s about building an unassailable record that leaves no room for the insurer to dispute the value or pre-existing condition of your items. The goal is to make reimbursement a simple administrative task, not a protracted negotiation.
Your digital gear locker should be as meticulously prepared as the rest of your trip. Follow this protocol for every significant piece of equipment:
- Photograph all equipment from multiple angles before it goes into the bag.
- Document all serial numbers for high-value items like boards, bikes, and electronics.
- Save digital copies of purchase receipts in a dedicated cloud folder to prove value.
- Create an itemized inventory spreadsheet with makes, models, and current replacement values.
- Film yourself packing the gear as timestamped evidence of its condition before handing it to the airline.
- Take photos at the check-in counter showing the condition of your packed bags.
- Record an unboxing video immediately upon arrival to document any damage that occurred in transit.
Optimizing Weather Windows: When to Go to Patagonia for Climbing?
An insurer’s “reckless endangerment” clause is a powerful tool for claim denial. If you are injured after proceeding with an activity despite clear weather warnings, they will argue you knowingly assumed an unreasonable level of risk, thereby voiding your coverage. To counter this, you must document your decision-making process, creating a risk mitigation paper trail that proves you acted with foresight and prudence, not recklessness.
This is especially critical for activities like backcountry skiing, climbing, or mountaineering, where objective hazards are high. The burden of proof is on you to show that your decision to proceed was based on a thorough and reasonable assessment of the available data. Simply saying “the weather looked fine” is insufficient. You must have timestamped evidence.
Case Study: Avalanche Risk and Insurer Liability
The connection between weather, risk, and insurance is not theoretical. According to an analysis of US avalanche fatality trends, risk in the backcountry has been rising. Between the 2007/08 and 2015/16 seasons, 82 backcountry tourers died in avalanches, the second-highest category of fatalities. Heli-skiers and tourers intentionally enter off-piste terrain with potentially unstable snow. If an accident occurs during a period of known high avalanche risk (e.g., a Level 3 or 4 warning), an insurer can easily argue the participant engaged in reckless endangerment, providing grounds to void coverage entirely.
To protect yourself, you must adopt a formal Go/No-Go decision-making process and document it. This matrix serves as your evidence of due diligence, proving your actions were calculated and responsible. Before any weather-dependent activity, complete and save the following checks:
- Check regional avalanche center bulletins or marine forecasts for current risk levels.
- Document weather forecasts from at least two independent, reputable sources (e.g., NOAA, MET Office) 48, 24, and 12 hours prior.
- Screenshot all weather reports as timestamped evidence.
- Formally assess and note your team’s physical condition and experience levels.
- Verify and document the functionality of all safety equipment (e.g., avalanche beacons, personal locator beacons).
- Consult with local, certified guides about current, on-the-ground conditions if possible.
- Create a brief written rationale for your decision to either proceed or cancel the activity.
Optimizing Your Runway: Planning for the Worst-Case Scenario
The previous sections have outlined the individual pieces of evidence you need to collect. This section is about assembling them into a coherent, accessible, and ready-to-deploy “Pre-Trip Claim Dossier.” In a high-stress emergency situation, you will not have the time or mental clarity to search for policy numbers or contact details. Your “runway” is the set of organized resources you have prepared that allows you to act swiftly and correctly. A well-organized dossier is the difference between a smooth claim process and a bureaucratic nightmare.
This dossier must exist in both digital (cloud-based) and offline (printed, waterproofed) formats. It is your emergency playbook. It should contain not just your insurance details, but the entire body of evidence you have gathered, from operator certifications to gear photos. Remember, even with the best policy, failure to follow the correct activation procedure can void your claim. Some rescue services, for instance, require you to contact their dedicated hotline first, not a local emergency number. Knowing this “fine print” is critical.
Case Study: The American Alpine Club’s Activation Protocol
The importance of specific activation procedures is highlighted by the American Alpine Club’s rescue coverage. Their premium plan provides up to $300,000 in transport coverage. However, a critical detail in the policy is that this coverage is only valid if the rescue is coordinated through their specific provider, Redpoint. A member calling 911 directly could inadvertently void their coverage. This demonstrates that having insurance is only half the battle; knowing exactly how and when to use it is just as crucial.
Your dossier is the central pillar of your risk mitigation strategy. It ensures that when an incident occurs, you are focused on safety, not on a frantic search for information. It is your single source of truth, compiled when you are calm and thinking clearly.
Action Plan: Assembling Your Pre-Trip Claim Dossier
- Consolidate Documents: Store policy documents with 24/7 emergency numbers in your phone’s contacts, a cloud service (like Google Drive or Dropbox), and as a laminated hard copy.
- Verify Identity: Save digital and physical copies of passports, visas, and driver’s licenses.
- Log Operator Details: Compile all operator contact information, booking confirmations, and the certifications you verified in the due diligence stage.
- Build Gear Inventory: Include your complete digital gear locker with photos, receipts, and the itemized value spreadsheet.
- Prepare for Reporting: Create a blank incident report template (who, what, where, when, why) so you can capture critical details accurately and immediately after an event.
Prehab vs Rehab: Why Solving Problems Before They Occur Is a Competitive Advantage?
The entire framework of this guide is built on a single, powerful concept: prehab over rehab. In medicine, prehab involves strengthening the body to prevent an injury from ever occurring. In risk management, it means building a case for your insurance claim so robustly that the denial is prevented before it’s even considered. It’s about solving the problem of a claim denial before the incident even happens. This proactive mindset is a significant competitive advantage against an industry that often relies on customer unpreparedness.
Part of this “prehab” is demonstrating your own competence. Insurers are assessing your personal risk profile. A traveler with documented safety training presents a much lower risk—and a harder-to-deny claim—than one with none. Obtaining and documenting relevant certifications (like wilderness first aid or avalanche safety) is not just for your safety; it’s a strategic move that adds another layer of evidence to your claim dossier. It proves you are a responsible, prepared individual, not a reckless amateur.
The cynicism of this approach is not misplaced; it is a direct response to the industry’s own practices. As one former claims investigator bluntly admitted, the system is not always designed in the customer’s favor. Mark Thompson, with 12 years of industry experience, made a startling admission about how his company viewed partners, as reported by Pillintrip:
We’d specifically look for providers with poor customer service as partners because they generated fewer claims.
– Mark Thompson, Former claims investigator
This quote reveals the cold calculus at play. Your preparedness is your only defense. The “Insurance-Proofing” strategy is your prehab. It involves documenting training, getting medical sign-offs, and even maintaining logs of your preparation to create a comprehensive portrait of a low-risk, responsible client.
- Obtain Wilderness First Aid (WFA) certification as proof of baseline medical preparedness.
- Complete Avalanche Safety Training (e.g., AST 1) for any backcountry snow activities.
- Digitally document all training certificates as evidence for your dossier.
- Get a pre-travel medical fitness letter from your physician confirming your ability to participate.
- Join recognized sports organizations (UIAA, PADI) to add to your credibility.
Key Takeaways
- Your standard travel insurance is likely a trap; it’s designed with “hazardous activity” exclusions to deny adventure-related claims.
- The only defense is to proactively build a “claim dossier” with irrefutable, documented evidence of your due diligence before your trip.
- This dossier must include operator certifications, equipment inventories with proof of value, and a documented, rational process for making risk-based decisions (like a Go/No-Go weather check).
How to Start Canyoning Safely If You Aren’t a Strong Swimmer?
The final pillar of your risk mitigation strategy is radical transparency. This means honestly assessing and, crucially, documenting your own limitations. A common scenario for claim denial is an incident where the participant was clearly operating beyond their skill level. For example, a weak swimmer participating in a canyoning trip with mandatory water jumps. Hiding a weakness is a liability; disclosing it and planning for it is a strength.
If you are not a strong swimmer but want to go canyoning, your task is to find an operator who can accommodate this limitation and to document every step of that communication. This creates a paper trail proving you did not act recklessly. Instead, it shows you took responsible steps to mitigate a known personal risk. This documented transparency can be the deciding factor in a claim, shifting the narrative from “participant negligence” to “responsible planning.”
Before booking, you must interview the operator with a specific set of questions designed for non-swimmers. Save your email correspondence or a recording of your call as evidence in your claim dossier. This documentation is your proof that you disclosed your ability level and selected an operator who confirmed they had appropriate safety measures in place.
Case Study: Transparency as a Risk Mitigation Strategy
Insurance experts advise full disclosure of your limitations to both your guides and your insurer. Documenting this transparency is key. An email to the operator stating, “I am not a strong swimmer, can you confirm your procedures for this scenario?” and their affirmative reply becomes crucial evidence. It demonstrates that you took appropriate precautions and did not misrepresent your abilities. This proactive communication proves responsible planning, not negligence, and can be pivotal if a claim arises.
Your interview with the operator should cover the following points:
- What are your specific procedures for swimmer rescue scenarios?
- Are there mandatory water jumps, or can they all be bypassed?
- What is your guide-to-client ratio in the aquatic sections of the canyon?
- Do you provide high-buoyancy Type III or Type V PFDs, or just basic buoyancy aids?
- How do you assess and accommodate the different swimming abilities within a group?
Now that you understand the adversarial nature of insurance and the framework for building a defensive dossier, the next step is to put it into action. Begin assembling your evidence today, for a trip that is not only thrilling but financially secure.