Picking the wrong trail isn’t just disappointing—it’s a primary safety risk for new hikers.
- The true difficulty of a trail lies in its elevation gain, especially the descent, not just its total distance.
- Your choice of footwear and pack weight directly impacts your “energy budget” for the day and must match the terrain.
- A pre-determined “turn-around time” is your most important safety tool, more critical than pushing to the summit.
Recommendation: Stop relying on generic “easy” labels and start diagnosing a trail’s real challenges—elevation, terrain, and timing—before you ever leave the car.
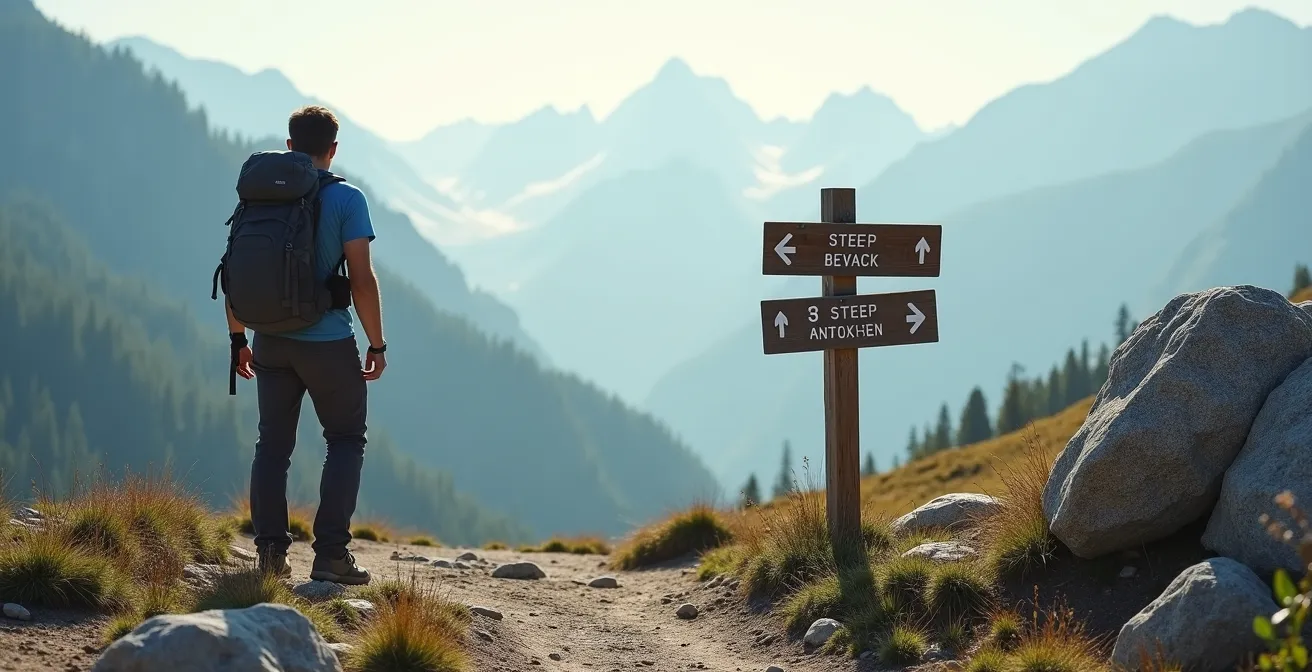
There’s a feeling every new hiker knows: the slow-dawning dread that you’ve made a mistake. The “easy” 5-mile loop you chose feels more like a mountain expedition, your knees are aching, the sun is beating down, and you’re not even halfway. This fear of overestimating your ability and getting stuck is real, and it keeps many people from enjoying the outdoors with confidence. You’ve probably been told the standard advice: check the trail difficulty on an app, read a few recent reviews, and start with short, flat paths. While this isn’t wrong, it’s incomplete.
Relying on a simple “moderate” rating is like navigating a city with a map that only shows the start and end points. It tells you nothing about the traffic, the one-way streets, or the steep hills in between. The key to safe and enjoyable hiking isn’t about finding trails labeled “easy.” It’s about learning to read the language of the trail yourself. It’s about understanding what a thousand feet of elevation gain *actually feels like* and how it impacts your body differently than covering another two miles on flat ground. It’s a skill of trail diagnosis.
This guide is designed to teach you that language. We’re not just going to list tips; we’re going to change your perspective. Instead of passively choosing a trail, you’ll learn to actively assess it. We will move beyond distance to understand the true cost of elevation. We’ll analyze gear choices not by brand, but by their effect on your energy budget. We’ll treat navigation and timing not as afterthoughts, but as central pillars of your safety plan. By the end, you won’t just be choosing a trail; you’ll be making an informed, realistic assessment that ensures every hike is a source of joy, not anxiety.
This article provides a comprehensive framework for diagnosing a trail’s true difficulty before you set foot on it. The following sections break down the essential metrics you need to master to hike with confidence and safety.
Summary: How to Confidently Choose Your Next Hiking Trail
- Elevation Gain vs. Distance: Which Metric Kills Your Knees?
- Boots vs. Trail Runners: What to Wear for a 10km Day Hike?
- GPS vs. Paper Map: Why You Need Analog Backup in the Digital Age?
- Water Filters vs. Tablets: How to Drink Safely from Streams?
- When to Start Hiking to Avoid Afternoon Thunderstorms in Summer?
- Optimizing Your Pack: How to Carry Less to Enjoy More?
- Why Walking Uphill Is More Effective for Fat Burning Than Sprinting?
- How to Train for Alpine Peaks While Living at Sea Level?
Elevation Gain vs. Distance: Which Metric Kills Your Knees?
For beginner hikers, distance is the most intuitive metric, but it’s also the most misleading. A flat 5-mile walk in a park is a completely different experience from a 3-mile trail that climbs 1,500 feet. The secret that experienced hikers know is that elevation gain, not distance, is the primary factor that drains your energy budget and puts stress on your body. While the uphill climb tests your cardiovascular system, it’s the descent that often causes the most problems. The constant braking motion places enormous strain on your quadriceps and, most importantly, your knee joints.
This isn’t just a feeling; it’s backed by science. When you walk downhill, your body has to work harder to maintain balance and control, leading to muscle fatigue and a decrease in joint awareness. In fact, research demonstrates that even a short period of downhill walking can significantly impair your knee’s proprioception—its ability to sense its position in space. A 2014 study found that after just 30 minutes of descent, joint-position sense was significantly worse, which directly increases the risk of a misstep, a fall, or a joint injury. This is why a trail with a steep descent can leave you feeling more sore and unstable than one twice as long but flat.
When you perform your trail diagnosis, think of elevation as the primary cost. A good rule of thumb for beginners is that every 1,000 feet of elevation gain feels roughly equivalent to adding 2-3 miles of flat distance to your hike. So, a 4-mile hike with 1,000 feet of gain should be planned as if it were a 6-7 mile flat walk. By prioritizing elevation in your assessment, you shift from simply measuring length to accurately predicting the real-world physical demand of a trail.
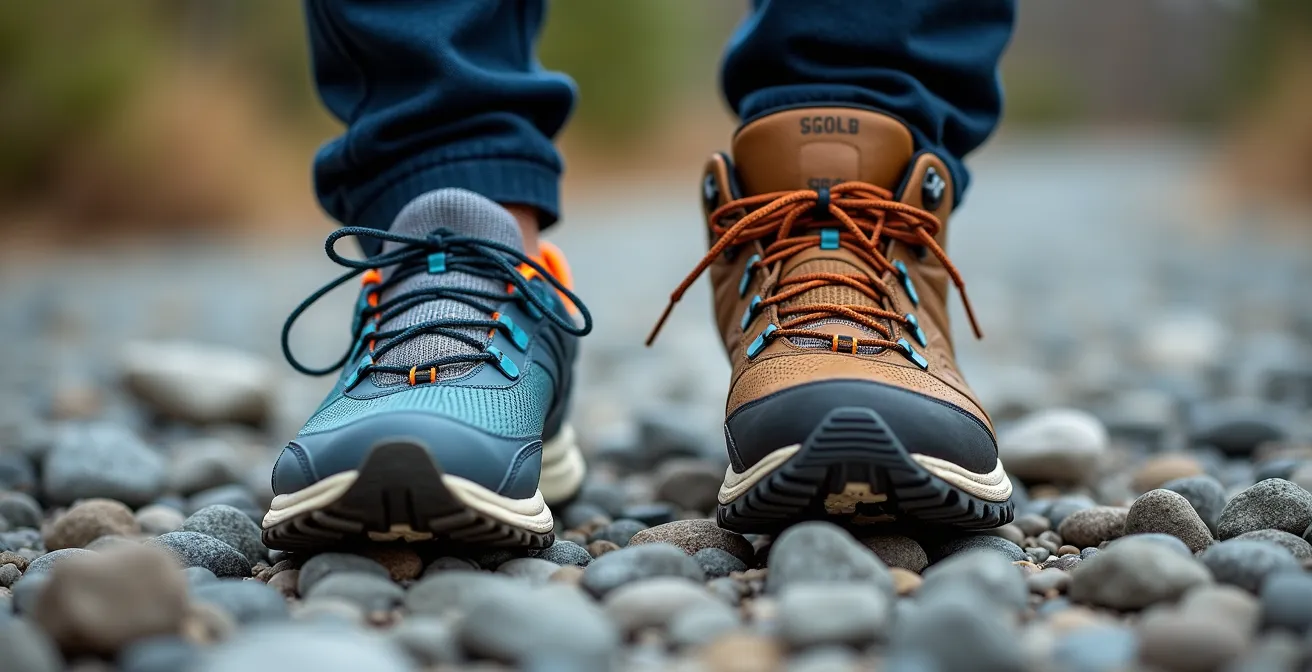
Boots vs. Trail Runners: What to Wear for a 10km Day Hike?
The question of “boots vs. trail runners” is one of the most common debates among hikers, but the answer isn’t about which is “better”—it’s about matching the tool to the task. For a beginner embarking on a 10km (about 6 miles) day hike, the choice has significant implications for your energy and safety. Your feet are your foundation, and the weight you put on them has an outsized effect on your overall fatigue. Heavier footwear, like traditional hiking boots, requires more energy to lift with every single step, which adds up to a major drain on your stamina over thousands of repetitions.
Traditional hiking boots offer superior ankle support and protection, making them ideal for carrying a heavy pack or navigating rough, rocky, and unstable terrain where a twisted ankle is a real risk. Their stiff soles protect your feet from sharp rocks. On the other hand, trail runners are significantly lighter and more flexible, which translates into massive energy savings. They feel more like a sneaker, allowing for a more natural and faster gait on well-maintained or less technical trails. However, they offer minimal ankle support and less underfoot protection.
The decision for your 10km hike should be based on a diagnosis of the trail conditions. Is the path smooth and packed earth? Trail runners will help you feel light and fast. Is it notoriously rocky, full of roots, or involves stream crossings? The stability and durability of a hiking boot are your safer choice. This comparative analysis of footwear highlights the trade-offs clearly.
| Footwear Type | Average Weight | Energy Savings | Best For |
|---|---|---|---|
| Trail Runners | 20-25 oz/pair | 1-2% for fast hikers | Fast hikers (3-4 mph), dry conditions |
| Hiking Shoes | ~2 lbs/pair | Minimal | Day hikers with light packs |
| Hiking Boots | 2.5-3 lbs/pair | Baseline | Heavy packs, ankle support needs |
GPS vs. Paper Map: Why You Need Analog Backup in the Digital Age?
In the age of smartphones and GPS watches, carrying a paper map and compass can feel like an outdated ritual. Your phone has apps that show your exact location on a detailed map, so why bother with the analog alternative? The answer, as any seasoned guide will tell you, lies in understanding failure points. Digital devices have multiple, common failure points: batteries die (especially in the cold), screens break in a fall, phones get dropped in water, and satellite signals disappear in deep canyons or dense forests. Relying solely on a single, fragile piece of electronics for your navigation is a gamble you should never take.
A GPS is excellent for telling you one thing: your precise point location. It answers the question, “Where am I, right now?” A paper map, however, provides something far more valuable: situational awareness. It answers the crucial follow-up questions: Where am I in relation to everything else? Where is the nearest bailout route if the weather turns? Where are the potential water sources or shelter locations? Is there a gentler ridge I can take instead of this steep ascent? This big-picture view is essential for making smart, safe decisions when things don’t go according to plan.
The goal isn’t to choose one over the other; it’s to use them together as a powerful system. Use your GPS for quick, convenient location checks. But have your paper map and compass (and the knowledge to use them) as your infallible backup. Before your hike, trace your route on the paper map. Identify key landmarks, junctions, and potential escape routes. This mental preparation makes you an active participant in your navigation rather than a passive follower of a blue dot on a screen. True confidence on the trail comes from knowing you can find your way, even if all your batteries die.
Water Filters vs. Tablets: How to Drink Safely from Streams?
As you begin to tackle longer and more remote trails, carrying all the water you need becomes impractical. Learning to safely source and treat water from streams, lakes, and springs is a fundamental hiking skill. With hiking participation surging to over 168 million in the US alone, understanding water safety is more critical than ever to prevent backcountry illnesses. Never assume that clear, running water is safe to drink. Microscopic pathogens like Giardia and Cryptosporidium can be present even in the most pristine-looking mountain streams and can cause severe gastrointestinal distress.
Your two primary methods for water treatment on the trail are filtration and chemical purification. * Water Filters: These devices (like squeeze filters or pump filters) physically remove bacteria and protozoa from the water. They work instantly and also remove sediment, improving the taste. However, they can be slow, require maintenance, and are susceptible to freezing and breaking in cold weather. * Purification Tablets/Drops: These are chemical treatments (usually iodine or chlorine dioxide) that kill bacteria, protozoa, and also viruses, which most filters do not. They are ultralight, foolproof, and make a great backup. Their main downsides are the chemical taste and the required wait time—often 30 minutes or more—before the water is safe to drink.
For most day hikers, a lightweight squeeze filter is a fast and effective primary option. However, it is always wise to carry a small packet of purification tablets as a backup in case your filter clogs, breaks, or freezes. Your choice should match the context of your hike and the water sources you anticipate using.
Action Plan: Your Water Safety Checklist
- Assess Needs: Plan for at least 0.5 liters per hour in cool weather and 1+ liters per hour in hot or strenuous conditions.
- Evaluate Sources: Identify potential water sources on your map. A high-altitude spring is lower risk than a stagnant pond near agricultural land.
- Factor in Time: Account for purification time in your hike plan. A squeeze filter might take 2 minutes per liter, while tablets require a 30-minute wait. This is part of your total trip time.
- Match Method to Risk: Use faster methods like filters for clear, low-risk sources. For murky or high-risk water, pre-filtering through a bandana before chemical treatment is a good practice.
- Carry a Backup: Always have a secondary method. If you rely on a filter, bring a few purification tablets. If you use tablets, have a backup set.
When to Start Hiking to Avoid Afternoon Thunderstorms in Summer?
In many mountainous regions, especially during the summer, weather follows a predictable pattern: clear, calm mornings give way to cloud buildup in the late morning and potentially violent thunderstorms in the afternoon. Being caught above the treeline during a lightning storm is one of the most dangerous situations a hiker can face. Therefore, timing your hike isn’t just about convenience; it’s a critical component of your safety plan. The question isn’t just “when should I start?” but “when must I be heading down?”

The professional standard for managing this risk is to plan your hike around a “turn-around time.” This is a non-negotiable time of day by which you will turn back towards the trailhead, regardless of whether you’ve reached your destination. This isn’t a sign of failure; it’s a mark of a smart, experienced hiker who prioritizes safety over summit fever. For summer hiking in thunderstorm-prone areas, your goal is typically to be off any exposed ridges or peaks and well below the treeline by noon or 1 PM at the latest.
To determine your turn-around time, you need to work backward. As explained by experienced hikers and outdoor educators, the method is simple. First, estimate the total time for your hike (both up and down). Divide that time by two to find the rough halfway point. Then, subtract a safety buffer of at least 30 minutes. For example, if you estimate a hike will take 6 hours, your ascent should take about 3 hours. If you start at 6 AM, your absolute latest turn-around time should be 8:30 AM (6:00 AM start + 3 hours ascent – 30 min buffer). This ensures you are already descending well before the afternoon weather develops, even if your ascent was slower than planned.
Optimizing Your Pack: How to Carry Less to Enjoy More?
Every ounce in your backpack costs energy. While it’s crucial to carry the ten essentials for safety, many beginners make the mistake of overpacking, turning an enjoyable day hike into a grueling slog. Optimizing your pack isn’t about leaving critical gear behind; it’s about making smarter, lighter choices. The single biggest impact you can have on your pack weight comes from what ultralight backpackers call the “Big Three”: your pack itself, your shelter, and your sleep system. While shelter and sleep systems are more for backpacking, the principle applies to the pack you choose for a day hike. An overly large, heavy daypack can add several unnecessary pounds before you even put anything in it.
Beyond the Big Three, the next frontier of weight savings is adopting a multi-use item strategy. Think about items that can serve more than one purpose. For example, your trekking poles can be used as poles for an ultralight emergency tarp. A buff or bandana can function as a hat, a sweatband, a pot holder, or even a first-aid bandage. Your smartphone has already replaced a separate GPS, camera, and guidebook. A small amount of duct tape wrapped around a water bottle or trekking pole can handle countless repairs without needing to carry a whole roll. This mindset of “functional density” is key to reducing weight without sacrificing preparedness.
The goal is to create a positive feedback loop: a lighter pack means you use less energy, which means you can hike further or faster with more enjoyment. This, in turn, boosts your confidence to explore more challenging trails. As this table shows, focusing on just a few key items can lead to dramatic weight savings.
| Item Category | Traditional Weight | Ultralight Option | Weight Saved |
|---|---|---|---|
| Pack | 5-7 lbs | 2-3 lbs | 3-4 lbs |
| Shelter | 4-6 lbs | 1-2 lbs | 3-4 lbs |
| Sleep System | 5-6 lbs | 2-3 lbs | 3 lbs |
| Total Savings | 14-19 lbs | 5-8 lbs | 9-11 lbs |
Why Walking Uphill Is More Effective for Fat Burning Than Sprinting?
Many people assume that to get fit for hiking, you need to engage in high-intensity workouts like running or sprinting. While these are excellent for cardiovascular health, they are not the most effective way to train your body for the specific demands of a long hike. Hiking is primarily an endurance activity, and the key to endurance is training your body to become efficient at using fat for fuel. This happens most effectively in a lower-intensity aerobic state, often called “Zone 2” cardio. Sprinting, by contrast, is an anaerobic activity that primarily burns readily available glycogen (sugars) for quick energy, a fuel source that depletes rapidly.
Walking uphill on a treadmill or a steep hill is the perfect workout for this. It provides significant resistance to build leg and glute strength, but it allows you to keep your heart rate low enough to stay in that optimal aerobic, fat-burning zone. Training in this way teaches your body to spare its limited glycogen stores for moments when you really need a burst of power, like scrambling up a short, steep section of trail. By becoming a more efficient fat-burner, you can go for hours without hitting the dreaded “wall” or “bonking.”
So, how do you know if you’re in Zone 2 without a fancy heart rate monitor? Use the “Talk Test,” a simple and proven field method. While you’re hiking or walking on an incline, you should be able to speak in full, comfortable sentences. If you’re so breathless you can only get out one or two words at a time, you’re working too hard and are in an anaerobic zone. If you can easily sing a song, you’re likely not working hard enough. The ability to hold a conversation, but not to sing, is the sweet spot for building true hiking endurance.
Key Takeaways
- Prioritize a trail’s elevation gain over its distance to gauge the true physical demand.
- Match your footwear (flexible trail runners vs. supportive boots) to the specific terrain, not just the hike’s length.
- Always carry a paper map and compass; a GPS tells you where you are, but a map tells you what to do next.
How to Train for Alpine Peaks While Living at Sea Level?
While the title mentions “alpine peaks,” the principles of dedicated training apply to any hiker who wants to progress from gentle loops to more challenging summits. You don’t need to live in the mountains to prepare for them. The foundation of any hiking fitness plan is consistency and specificity. Your goal is to simulate the demands of the trail—carrying weight and moving uphill—in your regular workouts. This builds not only physical strength but also the mental toughness to keep going when the trail gets steep.
The most effective training mimics the activity itself. This means focusing on two core components: 1. Cardiovascular Endurance: This is your engine. Workouts like walking on an inclined treadmill, using a stair-climbing machine, or finding a local stadium to walk up and down are perfect. Remember the “Talk Test” to stay in your endurance-building zone. 2. Strength Training: Hiking requires a strong core, back, and legs to carry a pack and maintain stability on uneven ground. Exercises like squats, lunges, and step-ups are essential. The single best exercise is weighted step-ups (wearing a backpack with some weight) to simulate the motion of climbing.
Ultimately, getting fitter has a benefit that goes far beyond just conquering a bigger mountain. It changes the entire experience of being outdoors. When you are not constantly struggling for breath or focused on your aching muscles, you are free to notice the world around you. As the experienced authors at The Hiking Life guide put it, this preparation is what allows for true enjoyment.
The fitter you are the less you struggle both physically and mentally. By being in good shape, you are able to focus more on the beauty of your surroundings.
– The Hiking Life, Hiking Fitness Guide
By transforming your approach from simply picking a trail to actively diagnosing it, you take control of your safety and enjoyment. Start applying these principles to your local trails, build your confidence, and you’ll soon find that the mountains feel less intimidating and more like a place where you belong.
Frequently Asked Questions About Choosing a Hiking Trail
What are the most common GPS failure points on trails?
Battery death is the most common failure point, followed by dropping the phone in water, loss of satellite signal in deep canyons or dense forest, screen damage from falls, and extreme cold rapidly draining the battery.
How do I use GPS coordinates with a paper map?
First, get the precise latitude and longitude coordinates from your GPS device. Next, locate the corresponding grid reference lines on your paper topographical map. Finally, use the surrounding terrain features shown on the map (like streams, peaks, or contour line shapes) to confirm your exact position within that grid square.
What’s the difference between “Point Location” (GPS) and “Situational Awareness” (Map)?
A GPS provides excellent “Point Location”—it tells you exactly where you are as a dot on a screen. A paper map provides “Situational Awareness,” which is the understanding of your location in relation to the entire surrounding landscape. It shows you the bigger picture: potential escape routes, upcoming water sources, challenges like steep terrain ahead, and possible shelter locations that a GPS dot alone cannot convey.