The “wood versus tile” debate is asking the wrong question; the key isn’t picking one material but designing a complete “flooring system” that coexists with your pets.
- Hardwood’s vulnerability to scratches can be managed with the right finish and repair strategy, allowing it to “wear-in” gracefully rather than wear out.
- Tile offers superior durability against moisture and heat, but its performance depends on proper installation and consideration for pet comfort.
Recommendation: Shift your focus from a single material to a holistic system that includes the floor’s finish, installation method, and interaction with your home’s environment to achieve both beauty and durability.
For any homeowner with a large dog, the choice of flooring feels like an impossible compromise. You want the timeless warmth of hardwood, but you picture deep claw marks from a playful skid. You consider the indestructible nature of tile, but worry about a cold, sterile environment that’s hard on your pet’s joints. The common advice usually forces a decision: beauty or durability. You’re told to check Janka hardness ratings, opt for the hardest materials, and resign yourself to the idea that a beautiful home and a happy dog can’t coexist.
This advice, while well-intentioned, is fundamentally flawed. It treats the floor as a passive surface that must simply resist damage. But what if the real solution isn’t about resistance, but about integration? The key to a pet-friendly and beautiful home lies not in choosing a single “best” material, but in creating a cohesive flooring system. This system-based approach considers how the material, its finish, the installation process, and even your home’s lighting and heating work together to manage wear, enhance comfort, and maintain value over time.
This guide will move beyond the simplistic “wood vs. tile” argument. We will deconstruct the elements of a successful flooring system, from repairing inevitable scratches and preventing water damage to optimizing for comfort and long-term style. By the end, you’ll be equipped to build a flooring solution that doesn’t just survive your family and pets, but thrives alongside them.
Summary: A Homeowner’s Guide to Dog-Proofing Floors
- How to Revive Scratched Hardwood Floors Without Sanding Everything?
- The Hidden Water Damage Risks of Installing Wood in the Kitchen
- Optimizing Underfloor Heating: Why Tile Conducts Heat Better Than Wood?
- Why Real Estate Agents Prefer Hardwood Over Luxury Vinyl in Living Rooms?
- When to Deliver Hardwood Planks to the Job Site to Avoid Warping?
- Trendy Modern vs Classic Traditional: Which Style Ages Better?
- Optimizing Your Kitchen Layout to Reduce Energy Bills by 15%
- How to Layer Lighting to Make Small Rooms Feel Bigger?
How to Revive Scratched Hardwood Floors Without Sanding Everything?
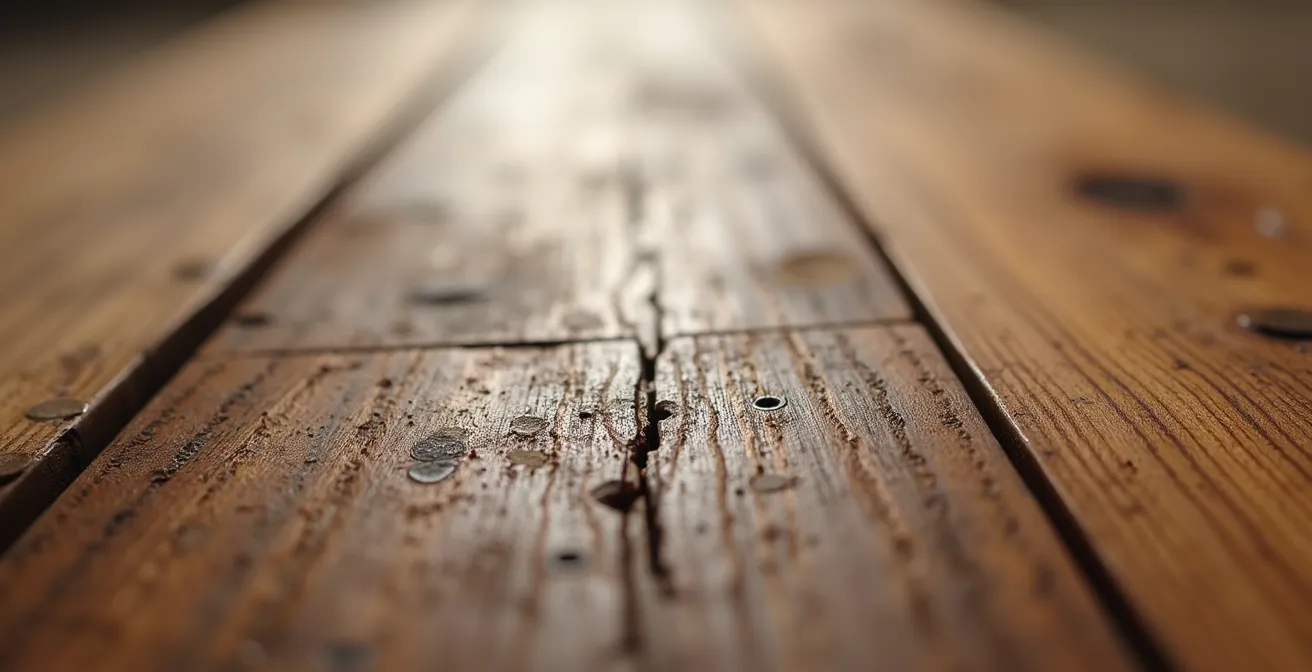
The first sign of a dog’s presence on a hardwood floor is often the faint web of scratches left by their claws. The conventional wisdom is that once a floor is scratched, a full-scale, dusty, and expensive sanding and refinishing job is the only answer. However, this overlooks a range of targeted repair techniques that are far more practical for a pet-owning household. Viewing scratches not as a disaster but as manageable wear is the first step in building a sustainable flooring system. For most surface-level imperfections, localized repairs are highly effective.
The secret lies in working *with* the floor’s finish. Shallow scratches often only affect the top protective layer, typically a polyurethane coating. Before resorting to sanding, these can often be masked or filled. Wax repair pencils, colored putty, and specialized markers can fill in light scratches, making them nearly invisible. For more widespread, shallow wear in high-traffic areas—like the path from the door to the sofa—a “screen and recoat” process is a professional-grade solution. This method involves lightly abrading (screening) the top finish and applying a new coat of polyurethane, effectively erasing minor scratches and restoring the floor’s protective shield without touching the wood itself.
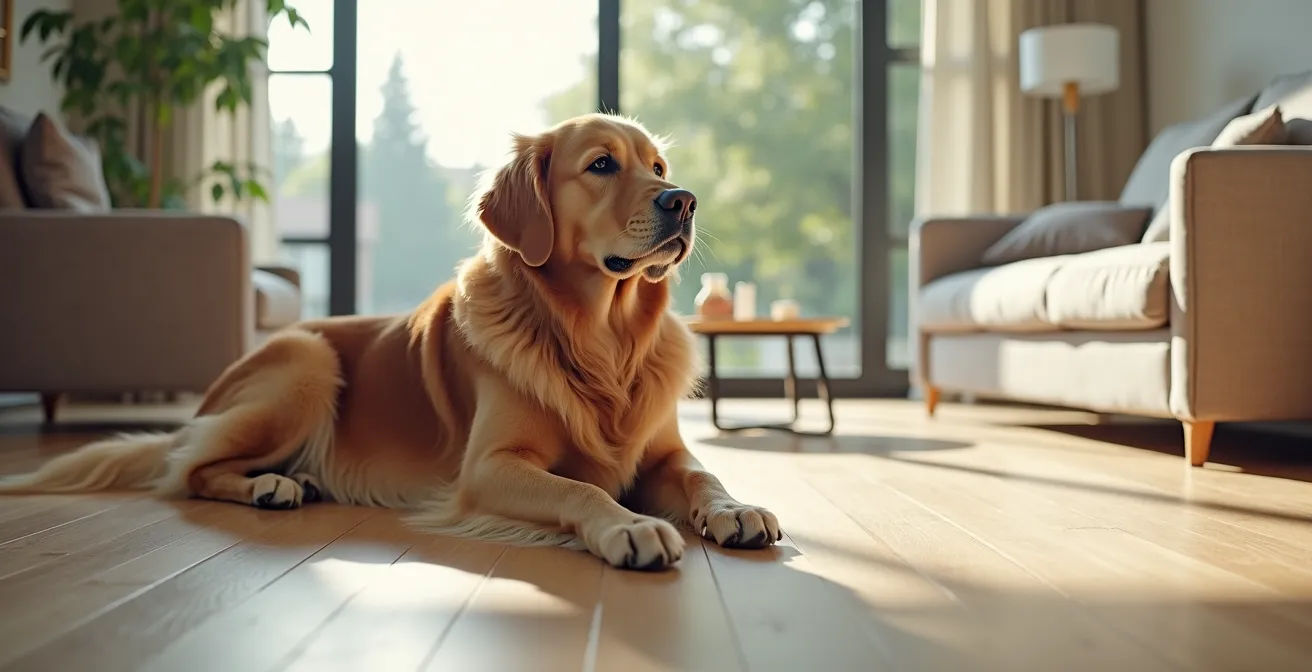
This approach allows the floor to develop a natural patina, where minor signs of life blend into the wood’s character. The image below shows how even a distressed hardwood surface can integrate wear and tear as part of its aesthetic, rather than being ruined by it.
Ultimately, a successful hardwood flooring system in a dog-friendly home is one that anticipates and accommodates minor damage. Deeper gouges may require colored putty, but the philosophy remains the same: address the issue locally. This mindset shifts the focus from preserving a flawless, untouchable surface to maintaining a beautiful, livable one.
The Hidden Water Damage Risks of Installing Wood in the Kitchen
While scratches are a cosmetic concern, moisture is a structural threat, especially for wood floors in a kitchen. Spilled water bowls, wet paws from a doggy door, and the occasional “accident” can introduce water that becomes a wood floor’s worst enemy. Unlike a simple surface spill, the real danger lies in moisture seeping between planks. Once water gets into the seams or underneath the boards, it can cause the wood to warp, swell, and cup. Even worse, it can become trapped, leading to mold, mildew, and lingering odors that are nearly impossible to remove.
This was confirmed by a real-world experience shared in a homeowner forum. One owner of seven dogs noted that their back room with a doggy door was constantly wet and dirty. Experts in the forum warned that with plank flooring, spills can get between the planks and are permanent, including the smell. This highlights a critical failure point in a flooring system: if the material or installation method can’t handle the inevitable moisture of a pet-friendly kitchen, the entire system is at risk. For this reason, solid hardwood is often considered a high-risk choice for kitchens with pets.
Engineered hardwood, however, offers a more robust alternative. Its construction, featuring a top layer of real wood over a stable core, provides better resistance to humidity changes. But not all engineered cores are created equal, especially for a high-moisture zone like a kitchen. The choice of core material is paramount for durability.
As the following comparison shows, a High-Density Fiberboard (HDF) core offers superior moisture resistance and dimensional stability, making it the most suitable choice for a kitchen flooring system in a home with dogs.
| Core Material | Moisture Resistance | Stability | Best Use Case |
|---|---|---|---|
| HDF (High-Density Fiberboard) | Superior | Excellent dimensional stability | Kitchens with pets and high humidity |
| Plywood | Good | Moderate expansion/contraction | General living areas |
| Poplar | Fair | More prone to warping | Low-moisture environments only |
Optimizing Underfloor Heating: Why Tile Conducts Heat Better Than Wood?
One of the main arguments against tile in a home with pets is its cold, hard feel. Dogs, especially older ones, may avoid lying on a chilly tile floor. However, this drawback can be transformed into a significant advantage with underfloor heating. This feature is a key component of a modern, comfortable flooring system, and the choice between wood and tile has major implications for its efficiency and safety. The primary reason tile excels with radiant heat is its high thermal conductivity. It transfers heat from the heating elements to the room quickly and efficiently, warming up faster and retaining heat longer, which can lead to more even and consistent warmth.
Wood, being a natural insulator, has lower thermal conductivity. It heats up more slowly and can be damaged by excessive or fluctuating temperatures, which can cause it to dry out, shrink, or crack. While engineered wood is more stable and often rated for use with radiant heat, it still can’t match the performance of porcelain or ceramic tile. For pet safety, controlling the surface temperature is critical. Studies recommend that the ideal temperature is 80-85°F (27-29°C) as the safe surface temperature range to prevent the risk of low-grade burns on a pet’s paws or body during prolonged contact.
To optimize the heating system for both the flooring material and your pets, several strategies can be employed:
- For Tile Floors: Install hydronic (water-based) systems. These leverage tile’s high thermal mass to create a large, slow-releasing heat radiator for consistent, even heating.
- For Engineered Wood: Use electric mat systems with precise thermostatic controls to prevent overheating and potential damage to the wood.
- Monitor Temperature: Always install floor sensors to maintain a surface temperature below the 85°F (29°C) maximum, ensuring your pet’s safety.
- Create Zones: Consider installing heating only in main pathways or living areas, leaving pet sleeping areas unheated to give them a cool place to rest.
Why Real Estate Agents Prefer Hardwood Over Luxury Vinyl in Living Rooms?
In the quest for a dog-proof floor, Luxury Vinyl Plank (LVP) is frequently presented as the perfect solution. It’s waterproof, scratch-resistant, and modern versions offer stunningly realistic wood visuals. From a purely functional standpoint, LVP seems to win. So why do many real estate agents and designers still argue that nothing boosts a home’s resale value like genuine hardwood? The answer lies in a combination of perceived value, authenticity, and long-term potential. While high-end LVP can fool the eye, it can’t replicate the feel, sound, and unique character of real wood.
Hardwood has an enduring, timeless appeal that transcends trends. It’s seen as an investment in the home’s structure, not just a surface covering. Potential buyers often associate hardwood with quality, craftsmanship, and warmth. A key factor is its ability to be refinished. A 20-year-old hardwood floor can be sanded and stained to look brand new, adapting to new design trends. LVP, once it is significantly scratched, faded, or damaged, must be replaced. It does not age; it simply wears out. This “lifespan” argument is powerful in the real estate market.
The image below captures the cozy, high-end feel that LVP aims to replicate. While visually convincing, the intangible qualities of real wood are what often sway agents and buyers.
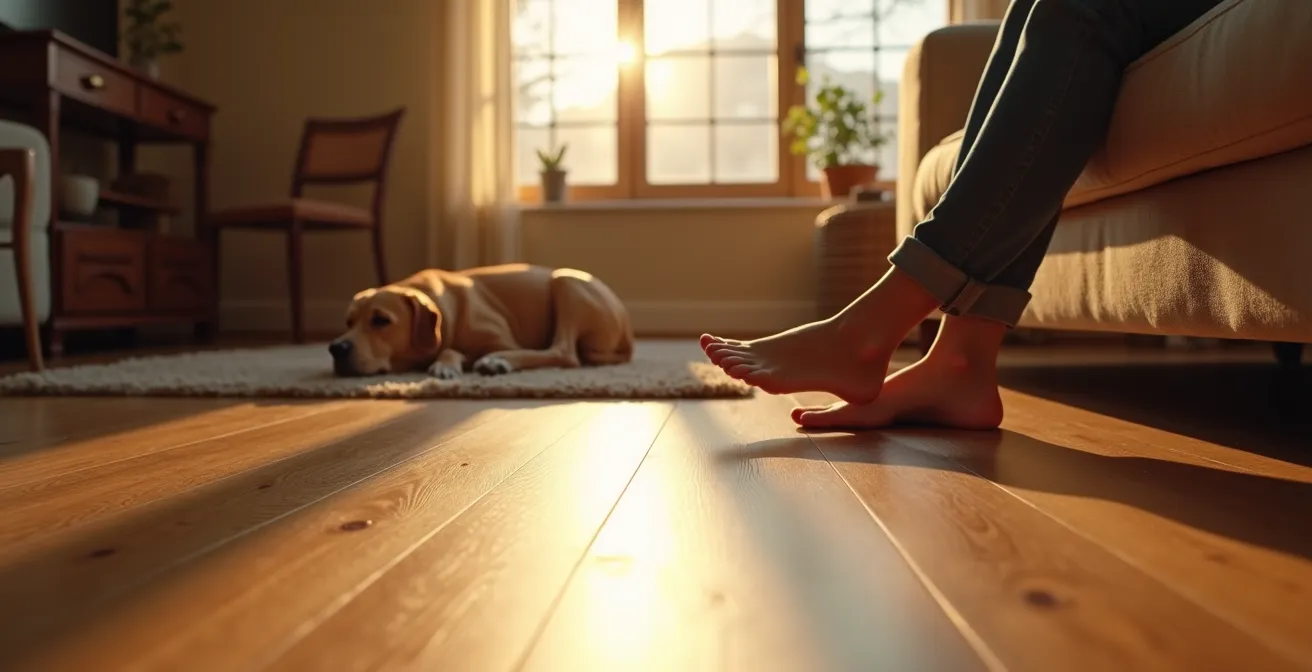
This doesn’t mean LVP has no place. In basements, bathrooms, or rental properties, its durability and water resistance can be the smartest choice. However, in primary living spaces where first impressions and long-term value are paramount, hardwood’s authenticity often wins. It signals a level of quality and permanence that synthetic materials, no matter how well-designed, struggle to match. It’s a foundational element of the home’s character, a factor that real estate professionals know has a tangible impact on a buyer’s perception and offer price.
When to Deliver Hardwood Planks to the Job Site to Avoid Warping?
A flooring system is only as strong as its installation, and for hardwood, the most critical and often-rushed step is acclimation. Wood is a hygroscopic material, meaning it absorbs and releases moisture from the air around it, causing it to expand and contract. Bringing wood planks from a warehouse environment and installing them immediately in a home with a different temperature and humidity level is a recipe for disaster. This can lead to problems like gapping (when the wood shrinks) or cupping and warping (when it expands), ruining an expensive floor before it’s even lived on.
Acclimation is the process of letting the wood planks sit in the room where they will be installed until their moisture content reaches equilibrium with the surrounding environment. This isn’t a matter of hours; it’s a matter of days. The goal is to match the moisture content of the wood to that of the subfloor. A critical rule of thumb is that there should be no more than a 2-4% variance in moisture content between the subfloor and the hardwood planks before installation can begin. Using a moisture meter to verify these levels is a non-negotiable step for any professional installer.
The required acclimation time depends entirely on the home’s relative humidity. In a drier environment, the wood may need more time to release moisture, while in a humid climate, it may need time to absorb it. This is not guesswork; it’s a science.
The table below provides a clear guideline for how relative humidity affects the target moisture content of the wood and the necessary time for proper acclimation. This step ensures the long-term stability and performance of your flooring system.
| Relative Humidity | Target Wood Moisture Content | Acclimation Time Required |
|---|---|---|
| 30-40% | 6-7% | 7-10 days |
| 40-50% | 7-9% | 5-7 days |
| 50-60% | 9-11% | 3-5 days |
| 60-70% | 11-13% | 5-7 days |
Trendy Modern vs Classic Traditional: Which Style Ages Better?
When choosing a floor for a home with dogs, the style of the floor is as important as its material. The question of how a floor will “age” is not just about physical durability, but also about aesthetic longevity. A floor’s style can either highlight every scratch and bit of pet hair or cleverly disguise them, allowing the floor to “wear-in” gracefully rather than wear out. This is where the choice between a sleek, modern look and a more classic, rustic style becomes a strategic decision.
A trendy, modern style often features dark-stained, smooth, high-gloss surfaces. While visually stunning when new, this combination is the least forgiving for a pet owner. The dark color makes light-colored pet hair stand out, and the smooth, glossy finish acts like a mirror for every single claw mark and scuff. In contrast, a classic or traditional style, particularly one that embraces a distressed, hand-scraped, or rustic look, is inherently more pet-friendly. These styles feature natural-looking variations in color, grain, and texture, which provide a built-in camouflage for minor imperfections. As one expert from Keller Design Floors notes:
Classic Traditional style with distressed or rustic wood can absorb scratches as ‘character’, aging gracefully. A Trendy Modern style with sleek, uniform surfaces will show every single imperfection.
– Flooring Design Expert, Keller Design Floors
This concept of absorbing wear as “character” is the essence of a forgiving flooring system. Materials like bamboo or engineered hardwood can also bridge this gap, offering a clean look that still has enough natural variation to be practical. Choosing a floor is an investment, and ensuring its style will work for you long-term is critical.
Action Plan: Auditing Your Flooring Style for Longevity
- Evaluate Light & Color: Bring large samples home. Look at them in morning and evening light. Does the color show or hide pet hair and dust?
- Analyze the Finish: Hold a sample at an angle to the light. Does a matte or satin finish diffuse light and hide imperfections better than a semi-gloss or high-gloss one?
- Test for Texture: Consider floors with wire-brushed, hand-scraped, or distressed textures. These built-in “imperfections” are excellent at hiding new scratches.
- Consider the Grain Pattern: A floor with a strong, variable grain pattern (like Oak) will conceal wear better than a uniform, fine-grained wood (like Maple).
- Plan for Patina: Ask yourself if you want a floor that looks perfect forever (an impossible goal with large dogs) or one that can develop a rich character and patina over time.
Optimizing Your Kitchen Layout to Reduce Energy Bills by 15%
The concept of a flooring system extends beyond durability and aesthetics; it can even impact your home’s energy efficiency. While it seems unlikely, your choice of flooring in the kitchen, when integrated with the room’s layout and natural light, can have a measurable effect on your cooling costs. This is particularly true for tile. Because of its high thermal mass and ability to stay cool to the touch, tile can help moderate a room’s temperature. Strategic placement of light-colored tile can lead to a significant 15% reduction in cooling costs during warmer months.
The key is to think in terms of “flooring zones” rather than using one material for the entire space. By placing a light-colored, reflective tile in the kitchen’s primary “work triangle”—the area between the sink, stove, and refrigerator—you can maximize light reflection and create a naturally cooler zone. This reduces the need for air conditioning, especially when combined with natural light from windows. Warmer materials, like engineered wood or LVP, can then be used in an adjacent dining or seating area to provide comfort underfoot without contributing to the cooling load of the main workspace.
inseminated
The aerial view of the kitchen below demonstrates this principle of zoning, with cool tile in the high-traffic work area and a warmer flooring in the adjacent space.
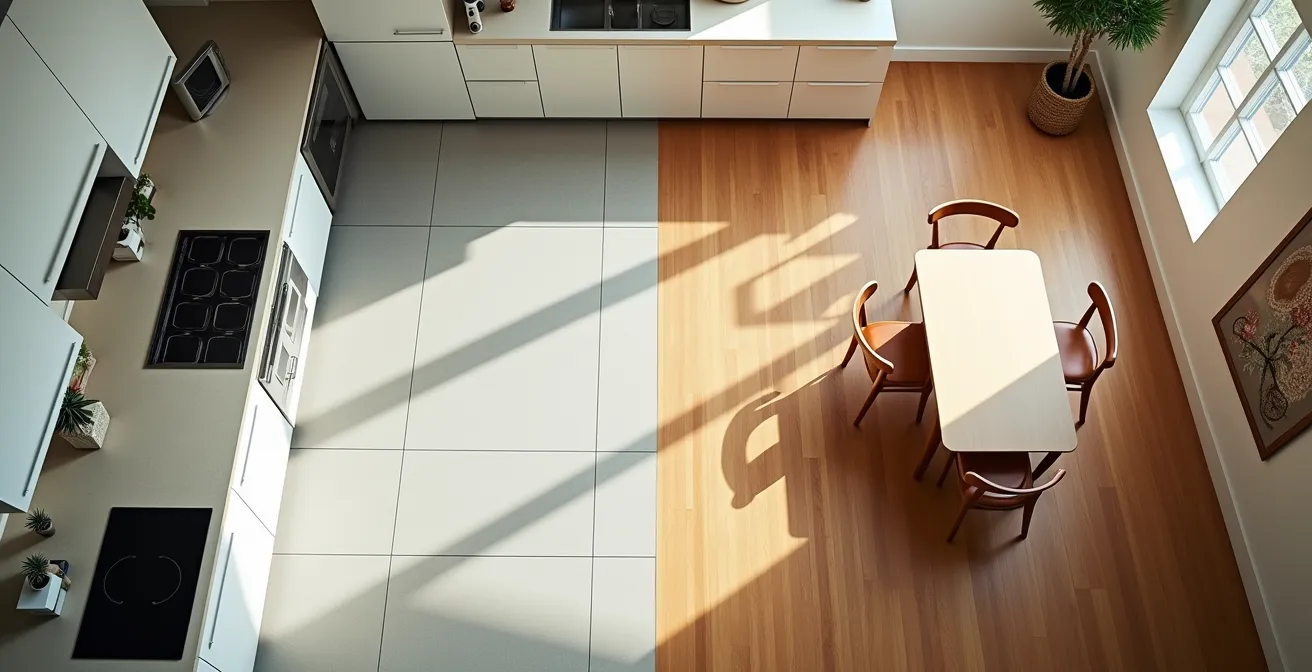
Implementing this strategy involves a few key steps. Installing light-colored tile near windows will bounce more daylight deeper into the room, reducing the need for artificial lighting. Using warmer wood or vinyl in seating areas maintains a sense of comfort. You can even create a border of tile near exterior doors to better manage temperature transitions from outside. This “zoning” approach turns your kitchen flooring into an active part of your home’s climate control system, proving that a smart layout is about more than just workflow.
Key Takeaways
- The most durable floor is not a single material, but a complete “system” where finish, style, and installation work together to manage pet-related wear.
- For hardwood, a “wear-in, not wear-out” approach using rustic styles and satin finishes is more practical than trying to prevent every scratch.
- For tile, leveraging its thermal conductivity with underfloor heating turns its “coldness” into a major comfort advantage for both humans and pets.
How to Layer Lighting to Make Small Rooms Feel Bigger?
The final, often-ignored component of a successful flooring system is lighting. How a floor is lit can dramatically alter its appearance, affecting everything from the visibility of pet hair to the perceived size of the room. The wrong lighting on the wrong floor can turn your beautiful investment into a constant reminder of every speck of dust and minor scratch. Layering different light sources and pairing them with the right floor finish is a designer’s secret to creating a space that is both forgiving and expansive.
The interaction between a floor’s finish and the light that hits it is critical. A high-gloss finish, whether on tile or wood, creates harsh specular reflections. It acts like a dark mirror, highlighting every imperfection and making dust and pet hair incredibly visible. A matte or satin finish, on the other hand, diffuses light softly. This soft glow minimizes the appearance of minor scratches and creates a more forgiving surface. As veterinarian Dr. Sara Beth Ochoa explained in an interview with BobVila.com, this is a perfect strategy for pet homes:
A satin finish on hardwood under warm light (2700K) can create a soft, forgiving glow that minimizes the appearance of minor imperfections, a perfect strategy for a pet-friendly home.
– Dr. Sara Beth Ochoa, Veterinarian, BobVila.com Expert Interview
The “color temperature” of the light, measured in Kelvin (K), also plays a huge role. Warm light (around 2700K) enhances the cozy feel of wood and is more forgiving, while cool light (4000K+) can make a space feel larger and cleaner but can also make a high-gloss tile floor feel clinical and show more dirt.
This table breaks down how different finishes interact with light and how that impacts their suitability for a home with pets. It’s a crucial guide for harmonizing your flooring and lighting systems.
| Floor Finish | Light Reflection | Best Light Temperature | Pet Hair Visibility |
|---|---|---|---|
| High-Gloss Tile | Maximum reflection | Cool (4000K) | Very visible |
| Satin Hardwood | Soft diffusion | Warm (2700K) | Minimized |
| Matte Vinyl | Minimal reflection | Neutral (3000K) | Least visible |
| Semi-Gloss Laminate | Moderate reflection | Warm (3000K) | Moderate |
Ultimately, choosing the right floor in a home with large dogs is about intelligent system design, not a battle of materials. By considering how repair, moisture-proofing, comfort, value, installation, style, and lighting all interconnect, you can create a solution that is both incredibly durable and undeniably beautiful, ensuring your floor and your furry family members can coexist in harmony for years to come.